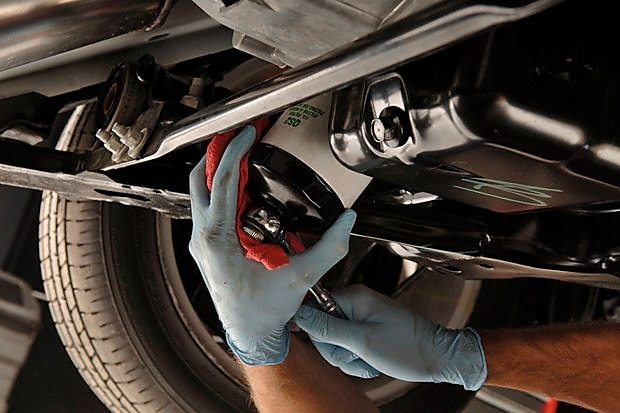
An oil filter is an essential component that cleans the oil and captures contaminants in an automotive engine. At CoreFilter, we provide a step-by-step guide on how to change an oil filter. For more information, please visit http://www.corefilter.com.tr.
Prepare the Essentials: Gather the following tools and materials to change the oil filter:
A new oil filter
An oil filter wrench or a suitable tool
An oil-absorbent cloth or newspaper
Disposable gloves
New engine oil (optional, if performing an oil change)
Vehicle Preparation: Follow these steps when the vehicle is fully cooled down and parked:
Open the vehicle's hood and access the engine compartment.
Identify the location of the oil filter on the vehicle. It is usually located near the oil filler cap or at the bottom of the engine.
Removing the Old Oil Filter:
Loosen the filter housing using an oil filter wrench or a secure strap or tool.
Carefully unscrew and remove the filter housing, either by turning it or using a wrench.
Remove the old oil filter from the engine. Be cautious as there may be residual oil in the old filter.
Installing the New Oil Filter:
Apply a small amount of clean engine oil to the gasket of the new oil filter.
Position the new oil filter onto the engine and push it towards the filter housing's alignment.
Reattach the filter housing and tighten it securely using a strap or wrench. Ensure the filter housing is properly attached.
Completion:
Complete any other maintenance tasks on the vehicle (optional). For example, if performing an oil change, replace the engine oil and filter.
Check the engine oil level while the vehicle is running and top up if necessary.
Close the vehicle's hood.
At CoreFilter, we offer a detailed step-by-step guide on how to change an oil filter at http://www.corefilter.com.tr. Visit our website for comprehensive information and high-quality oil filter solutions.
